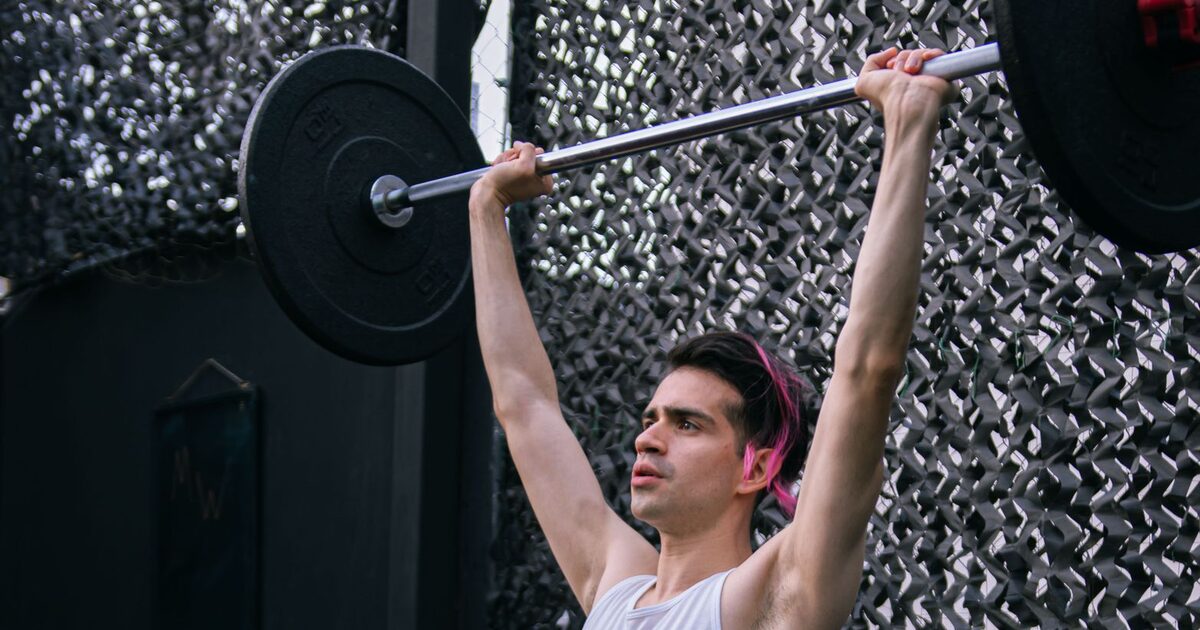
The overhead press is the most honest lift in the gym. There is no leg drive to hide behind, no spotter quietly rowing the bar up, no bounce off your chest. You either own the weight over your head or you don't. That brutal feedback is why it builds shoulders that look like they belong on someone who trains, and why so many lifters stall at the same sticking point for years. The fix is almost always technique, not effort.
What the press builds, and what it doesn't
Be clear-eyed about this before you program it. The strict overhead press is driven by the anterior (front) deltoid, with heavy support from the triceps and upper chest, and a huge bracing demand on your abs and upper back. It is a fantastic strength and mass builder for the front of the shoulder.
What it does not do, on its own, is build the wide, capped look most people are chasing. That width comes from the lateral (side) deltoid, and the lateral head only gets a modest slice of the work during a vertical press. If your goal is genuinely broader shoulders, the press is your strength anchor, but you still need direct lateral raise work alongside it. A press-only program gives you thick front delts and not much width. Both matter, so train both.
Setting up: the part everyone rushes
Most failed presses are lost before the bar leaves the rack. One prerequisite first: if you can't raise both arms straight overhead, biceps by your ears, without your ribs flaring or your shoulders pinching, that is a mobility problem, not a strength one. Spend a few weeks on overhead and thoracic-spine mobility before you load it heavy, or the bar will never finish over the right spot. Once you can get there cleanly, build the setup in this order.
- Stance: feet about hip-width, not wider. A narrow base forces your trunk to do the stabilising. Squeeze your glutes and quads as if you were about to be punched in the stomach.
- Grip: hands just outside shoulder width, roughly so your forearms are vertical when the bar sits on your front delts. Too wide and you lose triceps; too narrow and the bar drifts forward. Wrap your thumbs and keep the bar low in the palm, stacked over the wrist bones, not in your fingers.
- Rack position: the bar rests on the meat of your front delts, not floating in your hands. Elbows start slightly in front of the bar, pointed down and forward. This is your shelf.
- Brace: take a big breath into your belly, brace 360 degrees, and squeeze your glutes. This rigid column is what you press against. A soft midsection leaks force and lets your lower back arch.
The press: getting the bar past your face
The single biggest technical error is a forward bar path. The bar wants to travel up and back to finish over the middle of your foot, but your head is in the way. Here is how the rep actually moves.
- Clear the chin. Pull your head back slightly, as if making a double chin, so the bar can travel straight up past your nose. Press up and very slightly back.
- Head through the window. The moment the bar passes your forehead, push your head and chest forward so the bar moves behind the line of your face. At lockout your head should be "through the window" your arms make, ears roughly in line with your biceps.
- Lock out over mid-foot. From the side, a vertical line should run from the bar, through your shoulder, hip and the middle of your foot. Shrug your traps up into the bar and fully straighten the elbows. A complete lockout is the rep; a bent-elbow grind is not.
If you film one set from the side, watch for the bar drifting out in front of your shoulder at the top. That forward path is leaking strength and loading your lower back. The cue "bar over the back of the neck at lockout" fixes most of it. You can browse strict-press demonstrations and accessory movements in the exercise library if you want to see the head-through position in motion.
Common faults and how to fix them
| Fault | What it looks like | Fix |
|---|---|---|
| Forward bar path | Bar finishes in front of your face; felt in the lower back | Pull head back to clear the chin, then drive it forward through the window at the top |
| Lower-back lay-back | Ribs flare, you lean back into a near-incline press | Squeeze glutes hard, brace abs, keep ribs stacked over hips |
| Wrists bent back | Bar sits in the fingers; wrists ache | Stack the bar over the wrist bones; grip hard so the wrist stays neutral |
| Half lockout | Elbows never fully straighten; traps stay down | Shrug into the bar at the top and consciously finish the elbow extension |
| Pressing too wide | Forearms angle outward; triceps drop out | Narrow the grip until forearms are vertical in the rack position |
Programming the press for growth
Size on the press comes from pressing often enough to practise the groove, with loads heavy enough to matter. A few principles that hold up:
- Frequency: press 2 to 3 times a week. The overhead press is technical, and frequency is practice. If you only press once a week, the lift will always feel foreign.
- Rep ranges: for the strict press, the sweet spot for most people is 3 to 6 reps for heavy strength work and 6 to 10 reps for hypertrophy back-off sets. Both belong in a week.
- Progression: the press adds weight slowly because the muscles involved are small. Buy a pair of 1.25 kg micro-plates and add 2.5 kg total to the bar when you clear your target reps. Trying to jump 5 kg every session is why most pressing stalls.
- Strict before push press: prioritise the strict press for shoulder development. The push press, a small dip-and-drive from the legs, is a great tool for overloading the lockout, but it is an addition, not a replacement.
Round out the session with direct width and stability work. Lateral raises (2 to 4 sets of 12 to 20, light and strict) are non-negotiable if you want the capped look. Add rear-delt flyes or face pulls to balance the heavy front-delt pressing and keep the shoulder healthy. Working hard is fine; sharp or pinching pain in the joint is not normal pressing fatigue, so stop the set and sort out the cause rather than grinding through it. A sane week might look like: heavy strict press, lateral raises, face pulls on day one; lighter press for reps plus more lateral work on day two.
Strict press vs push press at a glance
- Strict press builds raw shoulder and triceps strength and is your main mass driver. No leg drive.
- Push press uses a shallow knee dip to launch the bar, letting you handle 15 to 30% more load and overload the top half. Use it after your strict work, not instead of it.
Fuel, recover, and track it
Shoulders grow on the same things every other muscle does: enough total protein (roughly 1.6 to 2.2 g per kg of bodyweight per day), a small calorie surplus if size is the goal, and real sleep. The press is a heavy central-nervous-system lift, so it responds well to being fresh; if your numbers stall, look at recovery before blaming the program. If you want simple high-protein meals to hit those targets, the recipe collection is built around exactly that.
Finally, write the press down. Because progress is measured in 2.5 kg steps, you cannot rely on memory to know whether you actually beat last week. Logging every set in the FitBot Coach app turns a lift that feels stuck into one you can see creeping upward, which is the difference between guessing and training.
Where to go next
The overhead press rewards patience more than almost any lift. Nail the setup, fix the bar path, press two or three times a week, and add weight in the smallest increments your gym allows. Two bodyweight staples pair well with it: work through our pull-up progression to build the upper-back balance heavy pressing demands, and use these push-up variations to add pressing volume on days you are not under a barbell.
Key takeaways
- The strict press hammers the front delt; add lateral raises for the width that makes shoulders look capped.
- Grip just outside shoulder width so your forearms sit vertical in the rack.
- Pull your head back to clear the chin, then drive it through the window to lock out over mid-foot.
- Press 2 to 3 times a week and progress in 1.25 kg micro-jumps, not 5 kg leaps.
- Use the strict press as your mass driver; add the push press only to overload the lockout.
Frequently asked questions
Will the overhead press alone give me wider shoulders?
Not by itself. The press builds thick, strong front delts, but width comes from the lateral (side) deltoid, which gets only a small share of the work during a vertical press. Pair pressing with 2 to 4 sets of lateral raises to actually broaden the shoulders.
Why does the bar drift forward and strain my lower back?
A forward bar path means your head is blocking the line, so the bar travels out instead of up. Pull your head back to clear your chin on the way up, then push it forward through your arms at the top. Bracing your abs and squeezing your glutes stops the lower-back lean that comes with it.
How often should I overhead press to see progress?
Two to three sessions a week works well because the press is technical and frequency is practice. Keep most sets in the 3 to 6 rep range for strength and 6 to 10 for size. Add weight in the smallest increments your gym allows so progression stays steady.